Heat Press Hacks to Get Flawless Print for Ultimate Results
When working with a heat press, getting the perfect print is vital. After all, you want a professional and flawless finish. But how do you achieve this? In fact, most of the time, we often get 9 out of 10 prints right. But what happens to the 1 that comes out wrong? Well, it could be due to a variety of reasons. It could be the pressure, the heat, or the time. With that in mind, here are some heat press hacks to get the perfect print.
Check the Temperature of Your Heat Press

Achieving flawless prints with your heat press always means ensuring that you have the right temperature. Therefore, before diving into any project, take a moment to check and double-check the temperature settings on your heat press machine.
To start off, make sure you have a reliable digital thermometer handy. Once you’ve confirmed the accuracy of your thermometer, it’s time to set the temperature according to the materials you’ll be working with. Different fabrics and transfer papers require different heat levels, so refer to manufacturer guidelines for specific recommendations.
Most importantly, don’t forget about preheating. Allow your heat press machine ample time to reach its desired temperature before placing any items on it. This will ensure consistent results across all projects and prevent any potential mishaps due to uneven heating.
Put the Teflon Sheet on the Top of Your Heat Press With a Couple of Magnets
That’s right. This simple yet super effective technique helps ensure that your designs adhere perfectly to the fabric without any unwanted marks or imprints. To take it up a notch, try placing a couple of magnets on either side of the Teflon sheet.
These magnets will help hold down the sheet securely in place, preventing any movement during the transfer process. This not only ensures that your design stays intact but also allows for even pressure distribution across the entire surface area. The Teflon sheet acts as a protective barrier between your design and the heating elements of the press. It prevents any ink or residue from seeping through onto subsequent transfers, keeping everything clean and professional-looking.
Reuse Protective Paper and Tape to Save Money
To save money, instead of throwing away the protective paper after each use, try reusing it multiple times. After pressing your design onto a garment, carefully remove the transfer and inspect the protective sheet for any ink residue or debris. If it’s still in good condition without any major imperfections, simply fold it up neatly and set it aside for future use.
Similarly, when using heat transfer tape to secure your designs in place before pressing them on garments, don’t discard them right away! Gently peel off the tape after pressing and check if there are any tears or adhesive residue. If not, roll up the tape neatly and keep it organized for future projects.
Do Threading Before Starting the Process

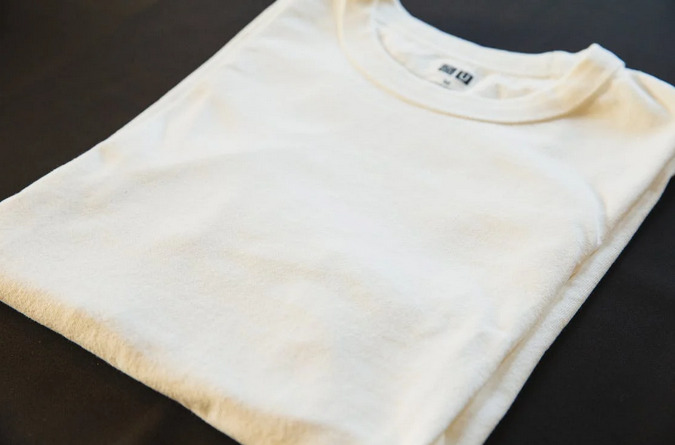
Threading your heat press machine before starting the printing process is a crucial step that shouldn’t be overlooked. By properly threading the machine and the shirt, you can ensure smooth and flawless prints every time. Next, locate the threading points on your machine. These are usually indicated by arrows or labels on the body of the heat press. Follow these instructions carefully to guide the thread through each point correctly. Take your time when threading, making sure that there are no tangles or loose ends along the way. It’s important to maintain tension in the thread throughout this process for optimal results.
By implementing these heat press hacks, you can achieve flawless prints and ultimate results with your heat press machine. With these super handy tips and tricks up your sleeve, you’ll be able to take full advantage of your heat press machine’s capabilities and produce professional-quality prints every time.